
Like all watersheds, you will begin at the most upstream drainage areas and move downstream, incorporating runoff hydrographs into your basin model as you proceed, and linking them when required with junctions, reaches, pond routings, etc. The watershed simulation is performed by selecting the suitable function(s) from the Ribbon menu in the order of sub-catchment connectivity.
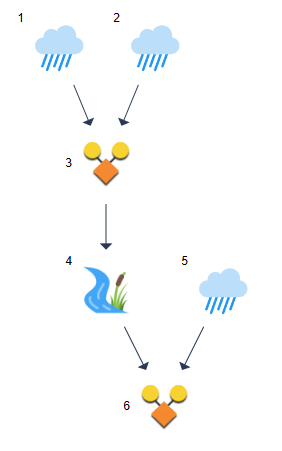
In the basin model illustrated below, two distinct drainage areas were incorporated to generate runoff hydrographs 1 and 2. These areas converged at a downstream point, where they were merged using Junction (3). Hydrograph 3 was subsequently routed through an extended channel reach, resulting in hydrograph number 4. Additionally, another drainage area contributes to the basin at the downstream end of the channel reach, producing runoff hydrograph 5. Finally, hydrographs 4 and 5 were combined, forming a junction (final hydrograph) at the furthest downstream point of this analysis.
It is crucial to construct your basin accurately. Doing this correctly guarantees that the remainder of your project will progress without issues. If you haven’t already done so, please check out this step-by-step tutorial of how to build a simple watershed.
There are four different types of runoff hydrographs you can use.
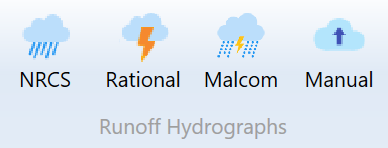
- NRCS
- Rational (includes Modified Rational)
- Malcom (Small Watershed Hydrograph) method
- Manual entry or imported
As shown in the Overview section, your basin model can be constructed and edited from any of the three tabs on the Main Window. Namely, Basin Model, Table or Charts. The procedure is basically the same from each tab.
Basin Model Tab
Click anywhere on the canvas to insure you don’t have any existing hydrographs selected. Then click one of the three runoff hydrograph buttons on the Ribbon Toolbar. Hydrology Studio places the corresponding icon on the basin model. You can move the icon around as needed by dragging it with your mouse.
Table Tab
Click an unused or empty row on the grid. Then click one of the three runoff hydrograph buttons on the Ribbon Toolbar.
Charts Tab
Click on an unused row on the Hydrographs List box. Then click one of the three runoff hydrograph buttons on the Ribbon Toolbar.
While in the Table or Charts tab, you can select any of the unused hydrograph rows for your next hydrograph, but while in the Basin Model tab, it automatically assigns the next higher number available.
Building Your First Watershed Model
If you haven’t already done so, please check out this step-by-step tutorial of how to build a simple watershed.
How to Modify or Edit Your Basin Model
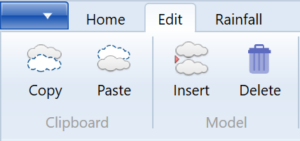
The software provides editing functions which allow you to insert, delete, copy and paste hydrographs. These functions are found on the Edit tab on the Main Window and are best performed while viewing your model from the Table tab but this can be accomplished from any of the main window tabs; Basin Model, Table or Charts.
How to Copy, Paste and Delete Hydrographs
You may select any “Runoff” hydrograph and click Copy. After that you may paste this hydrograph into any available rows on the Table or on the Basin Model for the next hydrograph number, by clicking Paste.
Likewise, you can delete any hydrograph by selecting it and clicking Delete.
Inserting and Renumbering Hydrographs
There will be occasions where you may want to change the number of a hydrograph in order to satisfy the requirement that hydrographs must progress from upstream to downstream. This is easily accomplished by inserting hydrographs in your model which essentially renumbers hydrographs.
You can insert hydrographs anywhere in your model by simply selecting a hydrograph row, or icon on the Basin Model, the insertion point, and clicking the Insert button on the top Ribbon menu’s Edit tab. This will insert a new, blank row on the table and push the remaining downstream hydrographs down by one row, increasing their assigned number by one.
The example below shows how to insert a new hydrograph, Hydrograph 6, into a model from the Table tab.
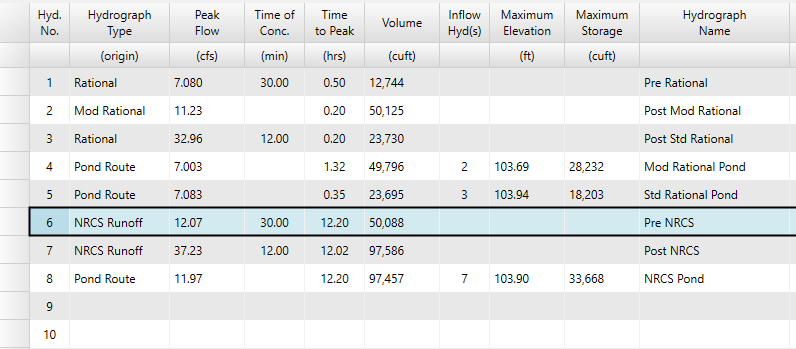
Select Hydrograph 6 and then click Insert.
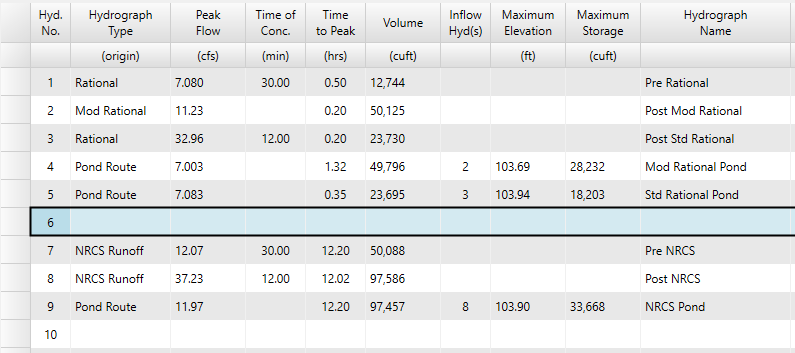
Notice how Hydrographs 6 through 8 were pushed down and are now Hydrographs 7, 8, and 9. Number 6 can now be used to create a new hydrograph.
Adding More Inflow Hydrographs to a Junction
Occasionally, you may need to adjust the selected inflow hydrographs associated with an existing Junction. However, it is important to note that Junction inflow hydrographs must have numbers that are lower than the Junction itself. This example illustrates how to perform this task directly within the Basin Model tab.
Here is an existing basin model. We aim to incorporate an additional NRCS inflow hydrograph into the current Junction, specifically hydrograph number 3. However, when you click on the NRCS button, the software automatically assigns the NRCS hydrograph as number 8, which is the next highest number available in the model. Since hydrograph 8 cannot be associated with Junction number 3 due to its higher value, this presents a challenge.
To resolve this issue, we simply need to insert a new hydrograph before number 3. Please follow the steps outlined below:
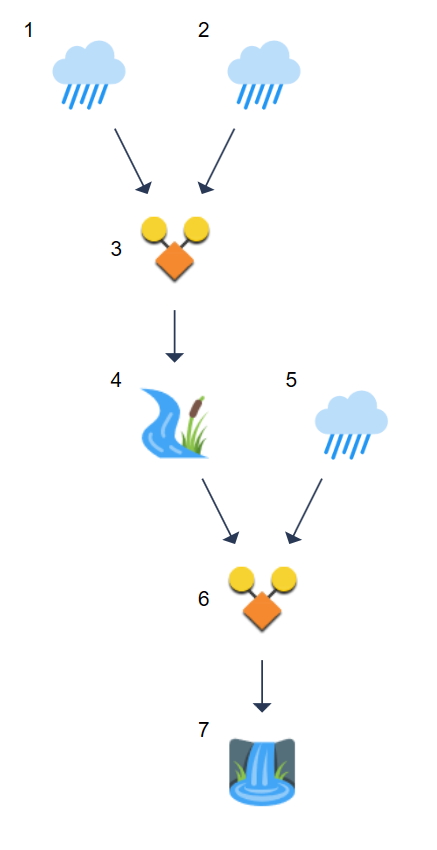
1. From your Basin Model, select hydrograph 3. (Click the icon with your mouse)
2. Then click [Insert] from the Edit tab on the top ribbon menu. This will push all hydrographs, beginning with number 3, downstream by one number leaving an open position for your new NRCS runoff hydrograph. Below is the new model.
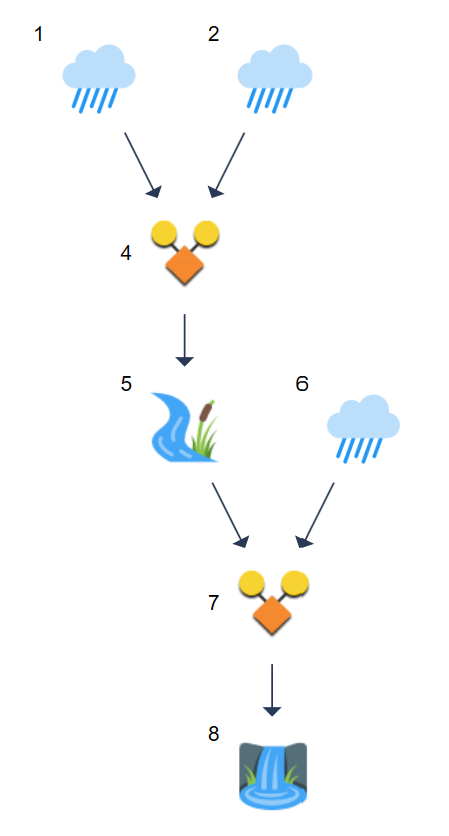
Notice that the Junction and the remaing hydrographs are now 4 through 8. You’ll also notice the input box to the right is ready for you to add your new hydrograph.
Tip: Do not reselect any other hydrograph or click anywhere on the basin model at this point. If you do, you’ll need to reselect hydrograph 3 from the Table and return here.
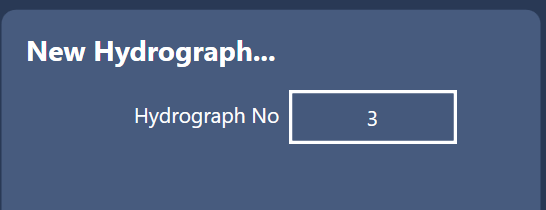
3. Now click the Home tab on the top ribbon menu. Then click the NRCS button. The software will add the new icon next to hydrograph 2 as shown below. The new runoff hydrograph is numbered 3.
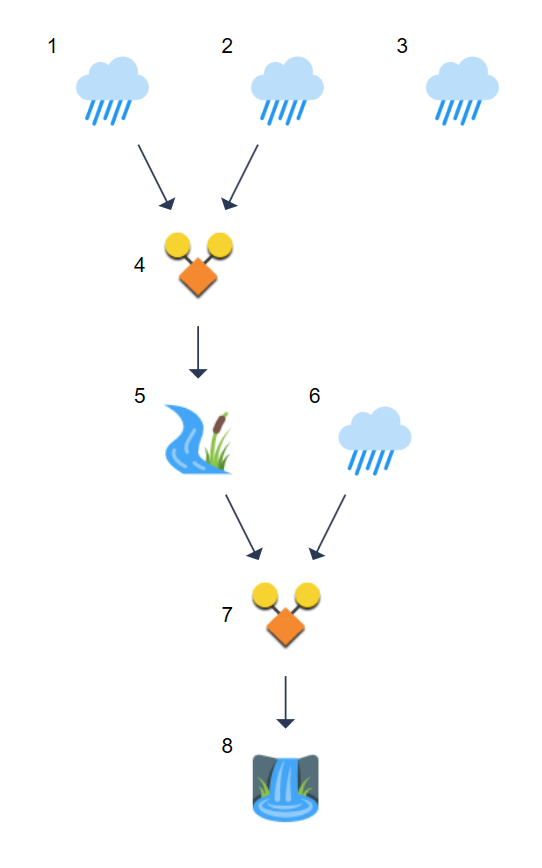
4. Add your data for the new NRCS hydrograph and click [Compute].
5. Select Junction hydrograph 4 and update its inflow hydrograph list as shown below. Tip: Click 01, 02 and 03 while holding the [Shift] key. Then click [Compute].

Your new model will look like this:
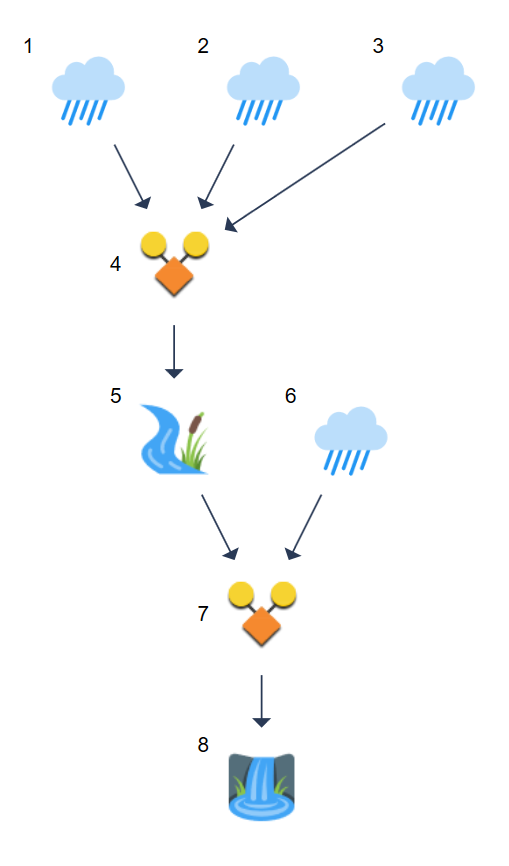
As a reminder, Junctions are limited to six inflow hydrographs. If you have more than six, say eight, for example, create two junctions and then combine the junctions as shown below.
