Stormwater Studio allows you to draw custom drainage areas right on your Plan. Simply select any Line and then draw its associated drainage area. You add up to 50 points with simple mouse clicks to describe the boundary or polygon. The software automatically computes the drainage area and inserts it into the Drainage Area input field.
The areas are displayed on your Plan at various colors and opacity that reflect the Runoff Coefficient. The drawn area also can be converted into a standard Icon by right-clicking it, preserving the area value. The exact procedure is described below in more detail.
How to Draw Custom Drainage Areas
Drainage areas can only added while viewing your Plan on the Plan tab. It involves only four steps:
- Select the Line you wish to add an area to. Do this by clicking on the Line or it’s junction.
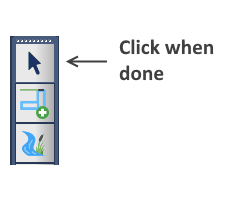
- Click the Add Drainage Area button on the side toolbar.

- Move (don’t drag) your mouse to the first point you want to add to this boundary (closed polygon). Click to add a point. Move to the next point and click. Move to next point and click. And so on. Repeat this process until you have formed your entire drainage area. You do not need to return to the first point, Stormwater Studio will automatically close the polygon for you.
- Finish by either pressing the [Escape] key or clicking the Ok/Select button.
While You Are Drawing
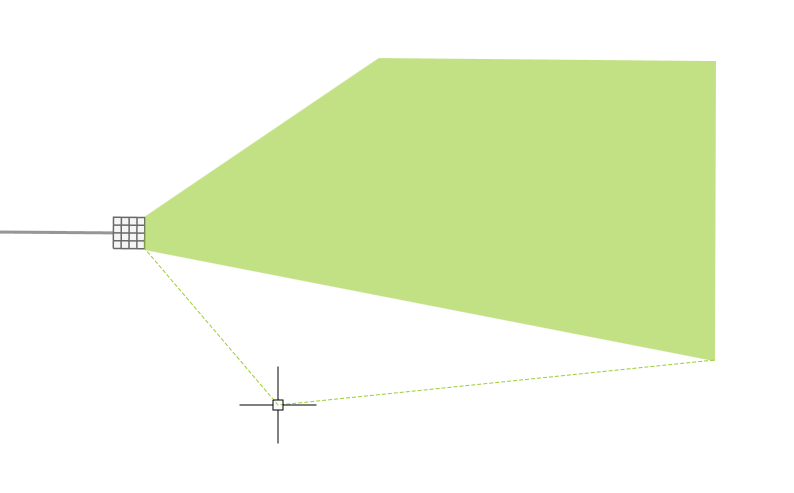
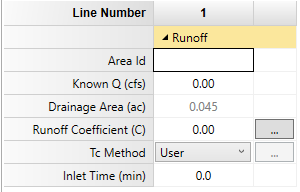
While you are drawing, the software calculates the accumulated drainage area (green shaded portion) as well as the total area comprising of the green shaded area and the area enclosed within the green dotted guidelines. The accumulated area will be inserted into the input field on the Runoff tab as shown below.
The total will also be displayed on the bottom status bar which can be very useful when trying to match a target area..

Once complete, the Drainage Area input is grayed-out (disabled). This value is now bound to the drawn area preventing you from inadvertently overwriting it.
Snap to Other Drainage Area Points
While drawing, you will frequently add areas directly adjacent to others that share a section of their boundary. Stormwater Studio knows this and offers an automatic snap function. This insures that no portions of areas overlap or get left behind.
Just move your mouse near any other point on adjacent drainage areas and you’ll see a red snap circle appear. Once visible, click your mouse and the software will add that exact point to your new area.

Drainage Area Colors
The software will draw your areas in varying opacity and colors to help you visualize the area’s runoff characteristics. Mainly the Runoff Coefficient. The default color is Yellow-Green. It sets the opacity for each area equal to its Runoff Coefficient (C). If C is zero, the opacity defaults to 0.60. If C is greater than 0.70 it sets the color to Light-Slate-Gray to mimic concrete, asphalt and roofs. Again, the opacity increases with increasing C values.
Removing a Drainage Area
Drawn drainage areas can be removed at any time. This option may be useful if the areas become visually overwhelming on your Plan or you just want to use this feature to calculate an area. (Remember, you can turn On/Off the drainage areas by checking and unchecking the Drainage Areas checkbox on the Home tab.)
To remove, right-click anywhere on the area and select “Convert drainage area boundary to icon…”
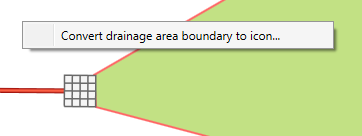
This procedure will erase the polygon points but will preserve the calculated drainage area. The area will subsequently be displayed as the default teardrop icon. Once converted, the points will be gone. You can use the Undo function to restore if needed.
Editing Drawn Drainage Areas
Rather than attempting to modify existing individual points on an area, it’s easier to just redraw and replace the old with a new one. Simply repeat the steps outlined above, as if you’re creating a new polygon. The program will first ask if you want replace the area.