Hydrology Studio allows you to annotate your basin model drawing with custom labels. They can be placed anywhere on the Basin Model and can be of many different fonts and colors.
 To add a new label, follow these steps:
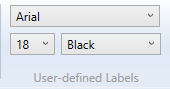
1. Choose the font style, size and color from the Ribbon menu.
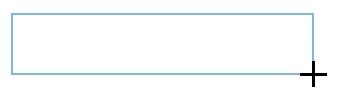
2. Click the [Add Custom Label] button from the side toolbar.
![]()
3. Then move your cursor over to the Basin Model canvas to approximately the desired location, and drag a rectangle and release your mouse button.
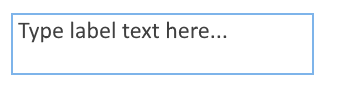
4. Next, type in the desired text inside of the rectangle. Note that you can change the font any time, even while typing.
5. Press [Enter] or the [Esc] key to accept.
Editing Labels
To edit an existing label, simply double-click the label. Make the change and press [Enter] or the [Esc] key.
Moving Labels
Once a label has been added it can be moved by selecting it (click it once) and dragging it to its new location. That’s all you need to do.
Deleting Labels
To delete a label, click on the text to highlight and then click the [Delete] button on the top Ribbon menu’s “Edit” tab.
![]()