Hydrology Studio will allow you to directly input a precipitation distribution, like the NRCS storms, that was perhaps created by an outside source such as your local drainage authority. Most design storms are already built into the software and there’s rarely a need to enter a custom distribution.
Manually Inputting a Design Storm
Input requirements are the cumulative precipitation ratios for the desired duration. You can enter up to 2,880 precipitation ratios. These ratios should begin at 0 and increase to 1.0 in the current Time Interval. If the Time Interval is later changed, Hydrology Studio will automatically interpolate custom storm distributions to match.
Here’s an example:
To begin, click the [Rainfall] button on the Ribbon Toolbar – Rainfall tab to open the Rainfall IDF Wizard.

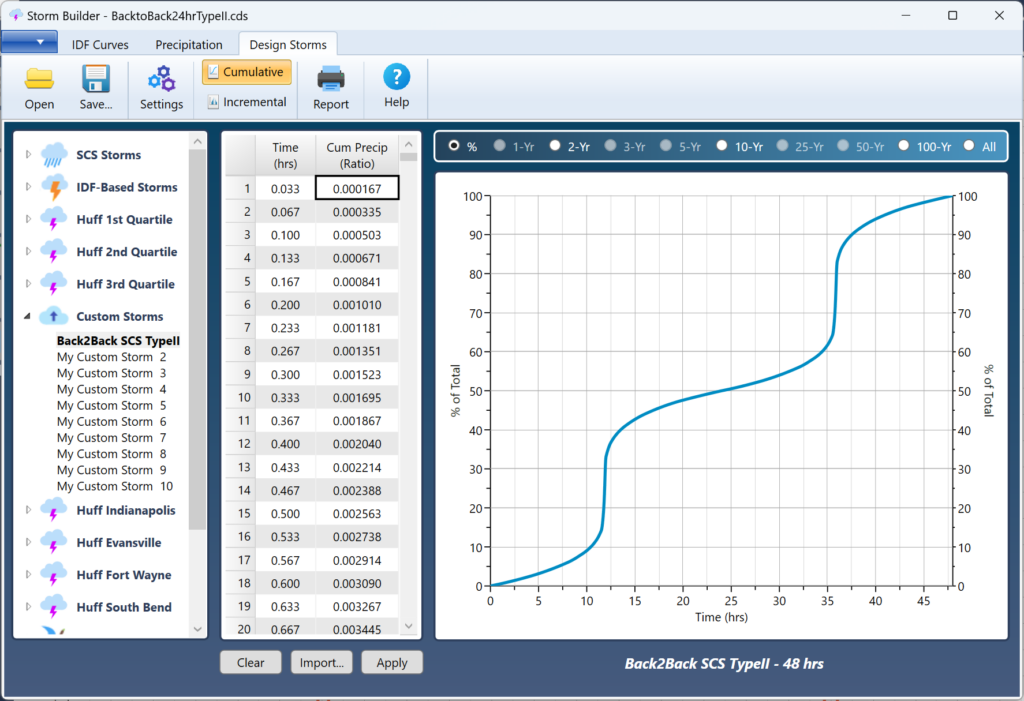
Select the “Design Storms” tab on the Ribbon Toolbar. The Storm Builder screen should look like the following:

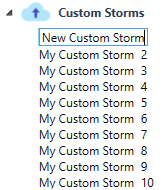
Next click on the “Custom Storms” folder icon on the Tree View panel on the left.

Select one of the 10 available storms and begin entering precipitation ratios in the table to the right. Note that the Ratio option button (%) must be selected on the frequency selector in order to add/edit a custom storm.

Values must begin at zero and increment up to 1.0. There can be no blank intermediate values. Also be sure that your inputs are at the same Time Interval as what Hydrology Studio is currently using. If the current Time Interval is 2-minutes, then the inputs will be assumed to be at 2-minutes also. Here is an example of ratios. Note that the first ratio (at Time zero) must be zero.
0.000
.0066
.0133
.02
.04
.06
.08
.1064
.1328
.16
.2066
.2866
.5
.7134
.7934
.84
.8672
.8936
.92
.94
.96
.98
.9867
.9934
1
When finished click the [Apply] button.
If you’re needing to input a lengthy distribution that contains many points, you can import them and save yourself a lot of work. See Importing Custom Design Storms for instructions.
Adding a Name
To edit the name of the custom storm, double-click the name on the Tree View. Then click again. Type in the new name and click the [Apply] button.
Creating Back-to-Back Design Storms
In some jurisdictions you may need to model back-to-back design storms. Hydrology Studio’s Custom Design Storm feature can be very helpful in fulfilling that need.
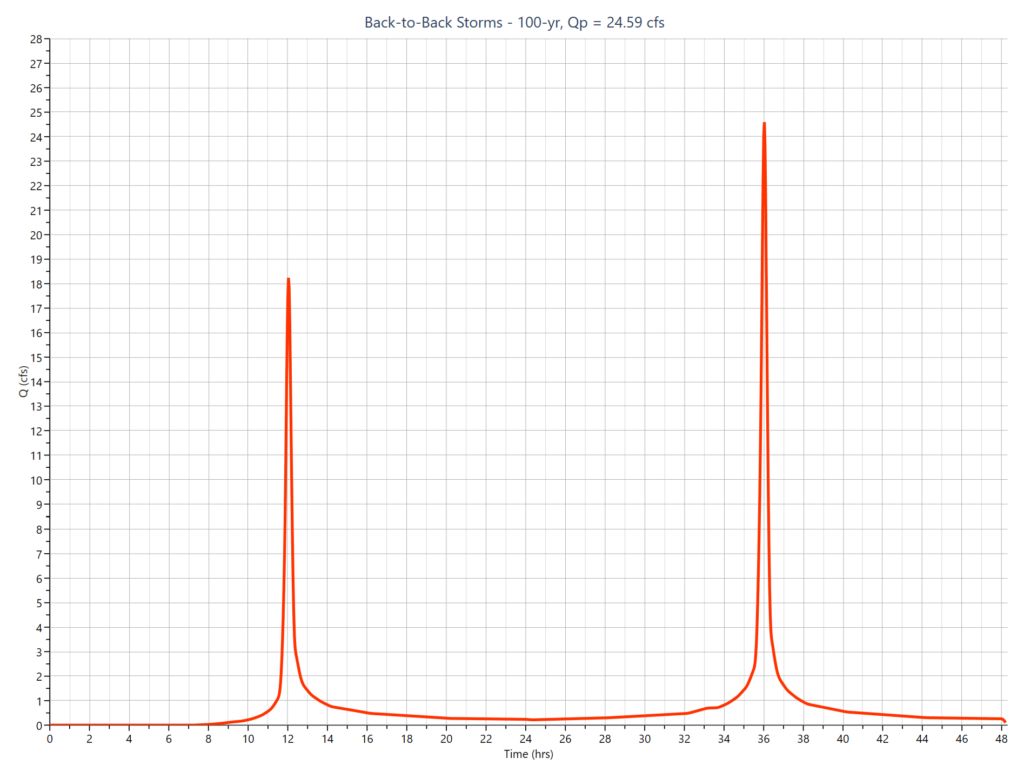
Below is an example design storm and runoff hydrograph which utilizes a custom-made SCS Type II back-to-back storm. The Type II storm was copied and pasted into Excel, one after the other. The cumulative values were reduced by 50% from time zero to 24 hours. Then increased by 50% from time 24 to 48 hours. Then it was exported and imported back into Hydrology Studio. See, Importing Design Storms for more information on importing.
Below is a link that will download the Hydrology Studio project file (.hys) which contains the above design storm and runoff hydrograph. Open after Hydrology Studio has been launched. Edit as needed.
Adding Dimensionless Storm Distributions
There are Custom Distributions provided by drainage authorities that are in a dimensionless format. For example, NOAA 14 Volume 2 dimensionless distributions for the Ohio River Basin and Surrounding States.
Another example is the state of Indiana requiring the use of four unique distributions in four different zones, derived from the Huff Distributions. These types of distributions only provide the precipitation ratios corresponding to a “percentage” of the total storm time. Thus no actual points along the time axis.
The table shown below represents one such distribution. The column on the left refers to the percentage of the total storm (could be 1 hour, 2 hours, 6 hours, etc..) The values on the right represent the cumulative precipitation as a ratio of the total precipitation.
| % Storm Time | Evansville, IN 1st Quartile |
|---|---|
| 0 | 0.0000 |
| 10 | 0.2282 |
| 20 | 0.4469 |
| 30 | 0.5711 |
| 40 | 0.6533 |
| 50 | 0.7143 |
| 60 | 0.7815 |
| 70 | 0.8466 |
| 80 | 0.9000 |
| 90 | 0.9536 |
| 100 | 1.0000 |
In these cases you would need to manually interpolate between the Precipitation Ratios to get them in to the current Time Interval. Obviously a lot of mundane work. Luckily, Hydrology Studio can do this work for you. All you need to do is import these values as-is. See Importing Custom Design Storms for instructions.
Don’t Forget to Assign Precipitation Amounts
After adding your design storm you’ll need to assign precipitation amounts to apply to this storm for each active return period. At this point you only have a distribution.
Select the “Precipitation” tab on the Ribbon Toolbar to open up the Precipitation Manager where you can enter the rainfall amounts. See, Choose Design Storm and Return Periods for more discussion.