Channel Studio has the ability to read your channel geometry and reaches from most RAS GIS import and HEC-RAS Export files. The Import files may be produced by your existing CAD, GIS software as well as HEC-GeoRAS. They are simple ASCII text files with a pre-defined format made up of Headers, Keywords and Values and are mostly used to import data into HEC-RAS or Channel Studio. These are commonly referred to as “RAS Import Files” with emphasis on Import. These are not HEC-RAS Export files which are used for exporting HEC-RAS results such as water surface elevations.
Channel Studio can also import HEC-RAS Export files which are produced by HEC-RAS. Both Import and Export files can be read and processed by Channel Studio and have a .sdf file extension.
A detailed description of these file formats is beyond the scope of this text but further information can be found in the U.S. Army Corps of Engineers, HEC-RAS 5.0 User’s Manual, Appendix B.
Import Guidelines
Channel Studio was not intended to be a full replacement of HEC-RAS but to offer an easy-to-use, yet comprehensive, alternative. As a result, Channel Studio does not import each and every component that can conceivably exist in a RAS GIS or HEC-RAS Export file, but does include a single stream system comprised of:
- Multiple reach segments
- Cross-sections including overbank positions
- Reach lengths, n-values, ineffective flow areas and blocked obstructions
Currently the software will import Channel Sections only. No Bridge, Culvert or Inline Weirs. Of course you may add those (or convert Channel sections to bridge, culvert or inline weir sections) later to your imported project.
While importing you’ll have the option to import just the Reaches or Reaches and Cross-sections. Reaches must always be imported, Cross-sections are optional.
Reaches
Channel Studio can only import a single river system. No tributaries. The river system can be described by importing up to 100 interconnected reach segments. If the RAS GIS file contains more than 100, the software will alert you but will abandon the import.
It is assumed the reaches are listed in the file as looking downstream in accordance with HEC-RAS modeling procedures. Reach segments are read using only the X, Y values under the CENTERLINE: keyword.
Cross-Sections
Up to 100 cross-sections can be imported. If the file contains more than this maximum, the remaining sections will be ignored. Up to 250 Station, Elevation points can be imported for each section. Points beyond this limit will not be imported. Cross-sections must be listed in the file in consecutive order, from upstream to downstream. Cross-sections that are listed randomly will not be imported.
Cross-sections are read using only the the values under the SURFACE LINE: keyword. Channel Studio assumes the Surface Line points are perpendicular to the Reach upon which it is located. The offset stationing is computed as the distance from the X, Y point to the point where it intersects the Reach using a simple distance formula.
Stations – Stations are read under the STATION: keyword. It is assumed the Station value is the distance from the most downstream point in the stream.
Bank Positions – Only two (left and right) overbank positions will be recognized. If the section contains more than two, the bank positions will not be imported at all.
Reach Lengths – The reach lengths of the Left Overbank, Channel and Right Overbank will be imported if they exist in the file.
N-values – The first three n-values listed in the file will be used for the Left Overbank, Channel and Right Overbank. Any n-values beyond three will be ignored.
Ineffective Positions – Up to two (left and right) Ineffective Flow areas can be imported. These will consist of station points along the section cut line and associated trigger elevations.
Blocked Positions – Up to two (left and right) Blocked Obstructions can be imported. These will consist of station points along the section cut line and associated trigger elevations.
How to Import
It is necessary to begin a New Project before importing project data. Once a new project has been started, click on the import button on the side tool bar located on the Model tab.

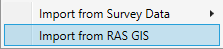
Select Import from RAS GIS to open up the Import dialog. You’ll be asked to browse to, and select, the RAS GIS Import or HEC-RAS Export file. Channel Studio will provide the option of choosing .txt or .sdf file extensions.
Once your file is selected, the software will preview the contents shown the following screen.
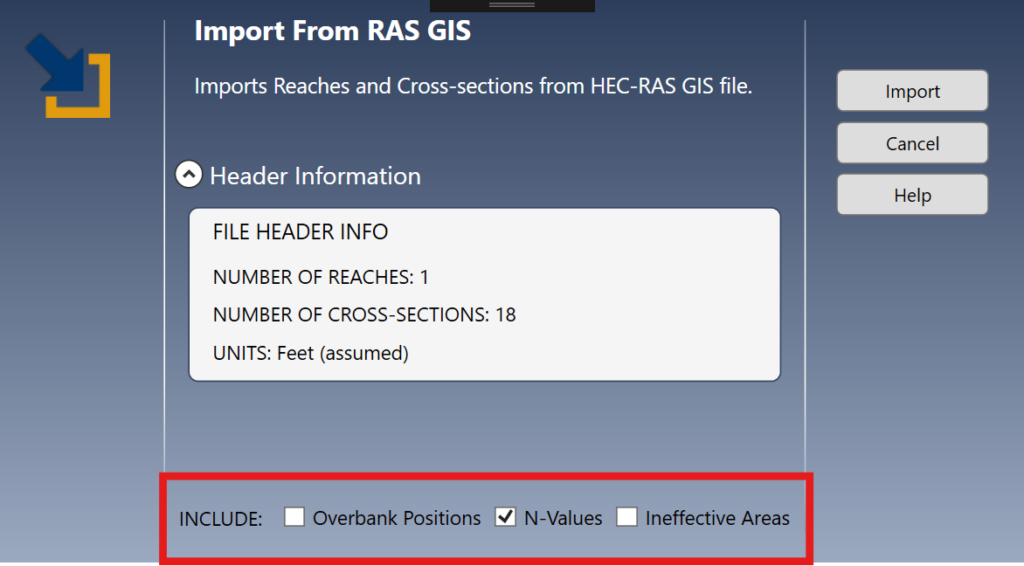
The Header information reveals the total number of reaches in the file as well as the total number of cross-sections.
Check or uncheck the INCLUDE Options as desired and click [Import]. Due to the differences between HEC-RAS and Channel Studio, it is recommended that you do not include Overbank Positions or Ineffective areas. And it there are more than three n-values in the cross-sections, you should not include those either.
If the reach segments imported with no issues, the following will appear.
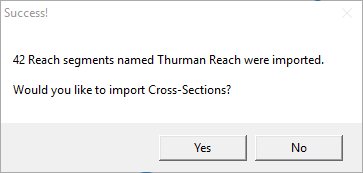
This gives you the option to continue importing the Cross-sections. To import the sections, click [Yes]. Otherwise, click [No].
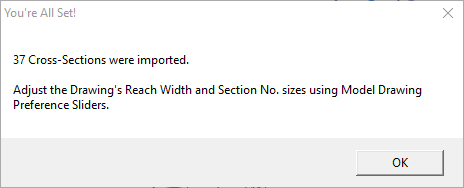
Once the sections have been imported you can make adjustments as needed. Most likely you will need to verify the imported data, add flows to the profiles and set the Tailwater Elevation(s) at Section 1.
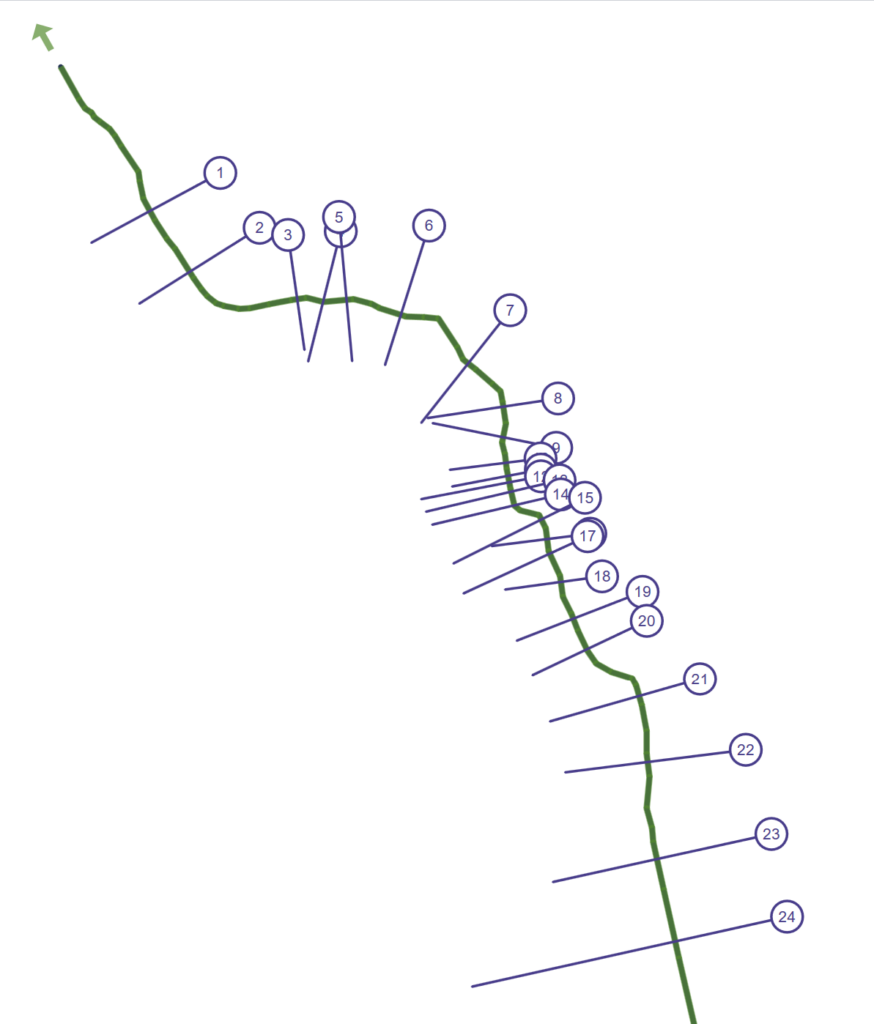
HEC-RAS Export Imported Into Channel Studio
Below is an example of a HEC-RAS project containing 77 reaches and 24 Cross-sections. It was exported from HEC-RAS as an sdf. Then imported into Channel Studio. The computed results were identical!