
Blocked obstructions are generally the same as Ineffective Flow Areas except that they block out the water entirely. They decrease the flow area just like the Ineffective Areas but also add wetted perimeter when the water comes into contact with it. Blocked obstructions are added to any channel cross-section using the same procedure as adding Ineffective flow areas.
How to Add Blocked Obstructions
Adding blocked obstructions is done only at the X-Sections tab and is performed graphically. These areas are added and removed on the left and right sides of a section separately using the following three buttons. Use the left button to draw areas on the left side and the right button for adding areas on the right.

Blocked Obstructions can only be added to channel-type sections, not bridge, culvert sections or inline weirs. To add an ineffective blocked area, click the left or right ineffective area button. Choose “Blocked Obstructions” from the sub-menu. Then move your mouse cursor to the canvas and drag. The area will draw itself as a shade of gray using your mouse pointer as the station offset and trigger elevation as shown below. When done, release your mouse button.
The X, Y coordinates are always shown on the Status Bar at the bottom of your screen.

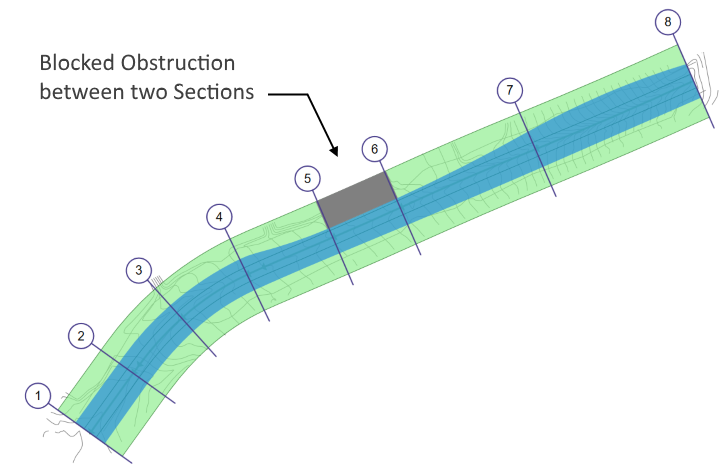
Blocked Obstructions Connect
When two or more adjacent sections have blocked obstructions, the software will automatically draw them on the Plan as shown below.

Blocked Obstructions Are Not Permanent
It should be noted that Blocked Obstructions are not permanent, in that they change into effectively carrying flow when the computed water surface elevation is above the defined Trigger elevation. To make them permanent, raise the top Trigger Elevation to the highest point on the channel section as shown above.