Even though there are several ways to setup your IDF Curves in the beginning, once completed, they all take the form of an equation. Culvert Studio uses two types of equations. Each can accept custom coefficients to match your exact IDF curves.
To enter your own coefficients, select Enter Known Equation Coefficients from the IDF Wizard opening screen.
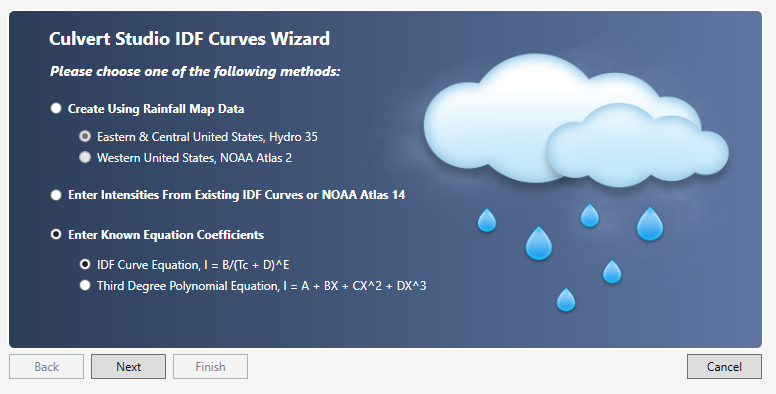
Choose one of the following equation types and click [Next].
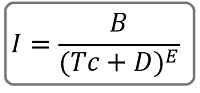
IDF Curve Equation
This method takes on the form:
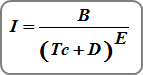
Where:
I = rainfall intensity (in/hr)
Tc = time in minutes
B = coefficient
D = coefficient
E = coefficient
My Equation Doesn’t Match This
There may be occasions where you need to match an equation that differs from the IDF Curve equation shown above. One example is:
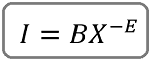
This can be transformed into I = B/(X)^E or:
Where:
I = rainfall intensity, in/hr (mm/hr)
(Tc + D) = X = duration in minutes
B = coefficient
D = 0
E = coefficient (positive)
If, in your equation, X = Duration in hours, multiply B by 60^E or B = B x 60^E.
Third Degree Polynomial Equation
Some regions have IDF curves which are based on a third-degree polynomial equation. These curves typically do not plot as a straight line on log-log scales. You have the option of creating IDF curves using a third degree polynomial equation as follows:
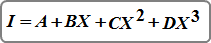
Where:
I = rainfall intensity (in/hr)
X = Ln(time in minutes)
A = coefficient
B = coefficient
C = coefficient
D = coefficient
If you do not know the specific equation coefficients you can enter Tc vs. Intensity points into an Excel spreadsheet and use its charting function. There you can add a trendline and Excel will generate the equation coefficients. You must use the Logarithmic, not the Polynomial equation. In many cases the C and D coefficients will be zero.
A screen similar to the following appears.
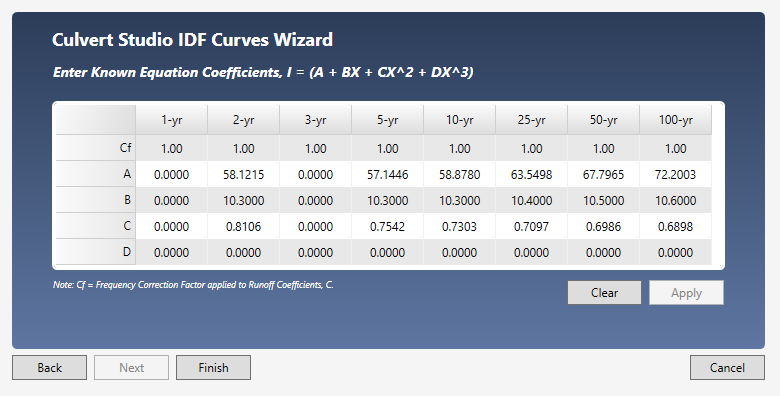
Clear the table if needed and enter B, D & E coefficients. If using Third Degree Polynomial, enter the A, B, C, & D coefficients. Note you can also specify Frequency Correction Factors, Cf on this screen. For more information, see IDF Correction Factors.
When finished, click the [Apply] button. Click [Next] if you want to edit Correction Factors. Otherwise, click [Finish].
You’ll be taken back to the initial IDF Wizard screen where you’ll see your new IDF curves.
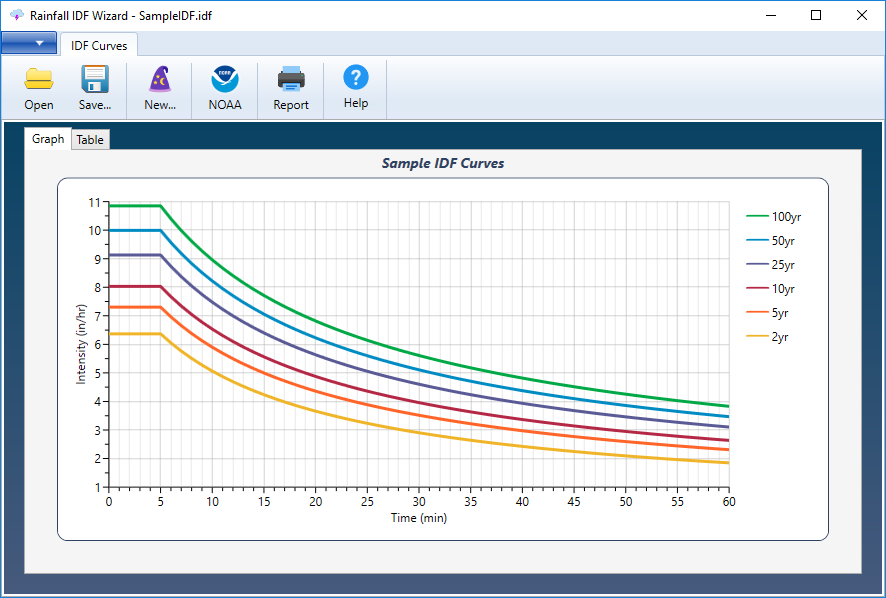
Save your curves by clicking the [Save] button and specifying a name for your file. An IDF extension will be applied. This file will automatically open each time you launch Culvert Studio. You can, of course, change this file any time afterwards.